Documentation:Blackboard Learn Support Resources/assignments
Assignments
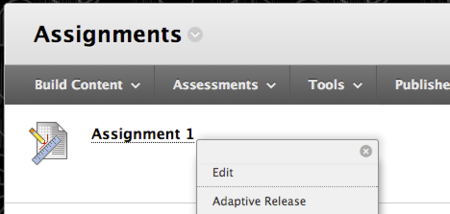
Edit assignments
Click on the assignment and it will give you the 'edit' option.
Creating Assignments
Please follow these instructions to create an assignment in Blackboard Learn.
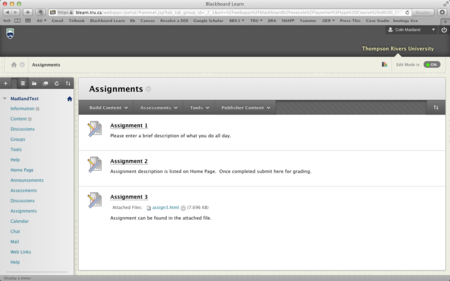
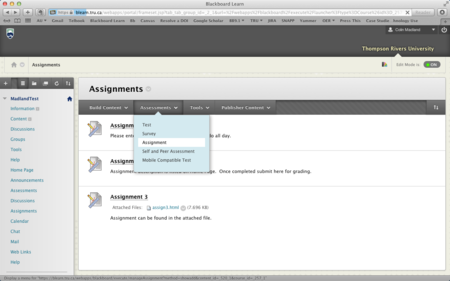
- 1. To create a new assignment, you must first toggle the Edit Mode to ‘On’, then hover your cursor over ‘Assessments’ and choose ‘Assignment’.
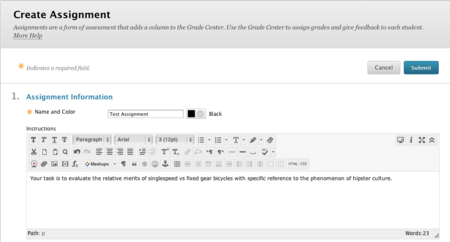
- 2. Enter a name and a description of the assignment using the Content Editor.
Tip: Changing the colour of the assignment will change the colour of the title in the list of assignments.
- 3. If you need to attach files, click ‘Browse my Computer’ or ‘Browse Course’. Enter the number of points possible. If you would like to associate a rubric with the assignment, follow the instructions contained in ‘Working with Rubrics’ available at the TRU Blackboard Support website.
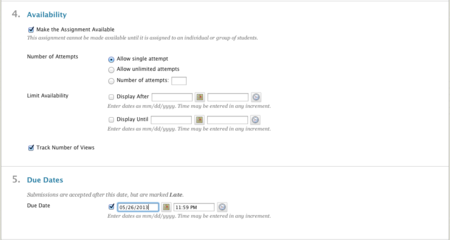
- 4. Adjust the dates that the assignment is available to students. You may want to click the box beside ‘Track Number of Views’.
- 5. Set the due date and time.
Tip: If you deliver a continuous entry course for Open Learning, you should leave this section blank.
- 6. Assign the item to all individual students or to groups. Click ‘Submit’.
- 7. You will see the green confirmation bar upon successful submission.
If you have questions, please contact elearningfacilitator@tru.ca.
Working with Rubrics
A well-designed rubric can benefit students, who can clearly see what the requirements for a particular assignment are, and also faculty who have a published standard by which they will assess each student’s work.
- 1. You can create a rubric while you are creating an assignment, or you can edit an existing assignment to add a rubric. Under the Grading section, hover your cursor over ‘Add Rubric’ and choose ‘Create New Rubric’.
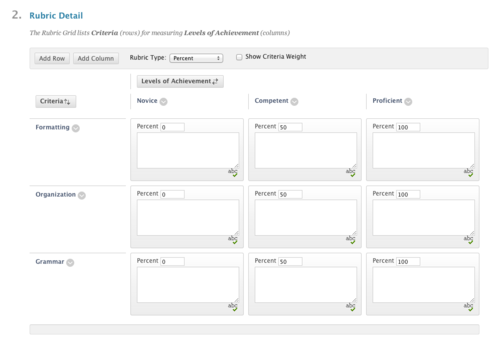
- 2. Enter a name and description for the rubric. Overview of Rubric Details Add rows or columns. Change the rubric type. Click the chevron beside a criterion or level of achievement to edit the default titles.
The levels of achievement values will change depending on the type of rubric. Enter descriptors of each level of achievement in the text boxes.
- 3. Click ‘Submit’.
- 4. Confirm the details of the rubric in the yellow bar in the assignment details. The rubric creation screen will open in a new window.
Tip: Hover your cursor over the buttons for more options.
- 5. Scroll down and click ‘Submit’ to save the assignment settings.
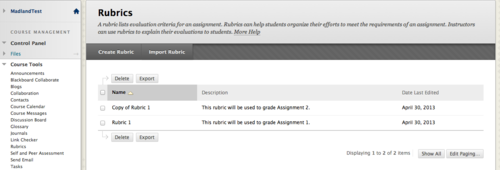
- 6.You can access, view, manage and create rubrics by clicking ‘Course Tools’ under ‘Course Management’ and then clicking ‘Rubrics’.
