Documentation:Blackboard Learn Support Resources/create wiki
Jump to navigation
Jump to search


Creating Wikis
Wikis allow course members to collaboratively contribute to and edit pages of course-related materials. Follow these instructions to create a course wiki. Only Instructors can create wikis, but anyone can create and edit pages in a wiki.
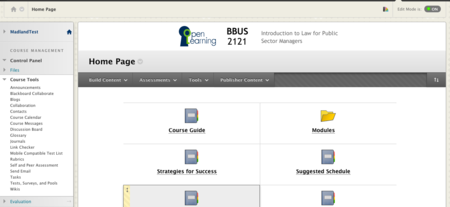
- 1. Enable ‘Edit Mode’ and click ‘Course Tools’ in the Control Panel.
Click ‘Wikis’ to see a list of all wikis in the course.

- 2. Click ‘Create Wiki’.

- 3. Give the wiki a name and description.
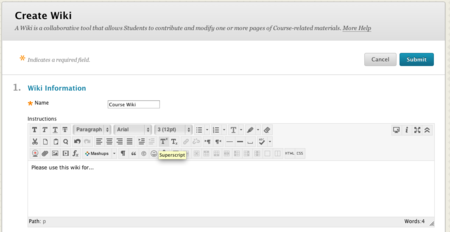
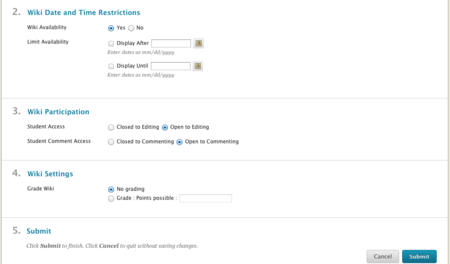
- 4. Set the Wiki Availability.
- 5. Ensure that students have access to editing and commenting.
- 6. Edit the grading settings.
- 7. Click ‘Submit’.
- 8. Your new wiki will be listed alphabetically.


Click the title of your new wiki to add the first page, which will be the Home Page of the wiki.

- 9. Give the Home Page a name and enter a description or instructions into the Content Editor.
Click ‘Submit’.

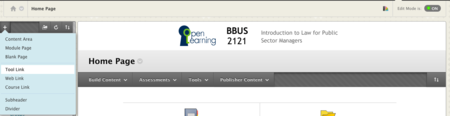
- 10. To enable student access to the wiki, you should create a link in the Table of Contents.
Click the ‘+’ in the top left corner and choose ‘Tool Link’.

- 11. Give the link a name, chose ‘Wikis’ in the ‘Type’ dropdown menu.
Check the box to make the link available to users.
Click ‘Submit’.

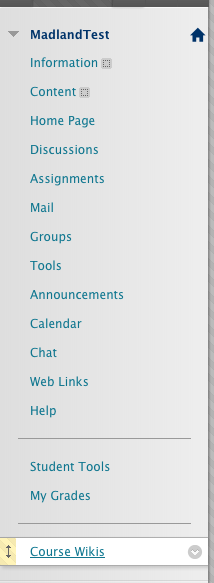
- 12.The link will be shown to students in the Table of Contents.
Use the yellow handle on the left side of the link to drag the link to a new position.

If you have questions, please contact elearningfacilitator@tru.ca.